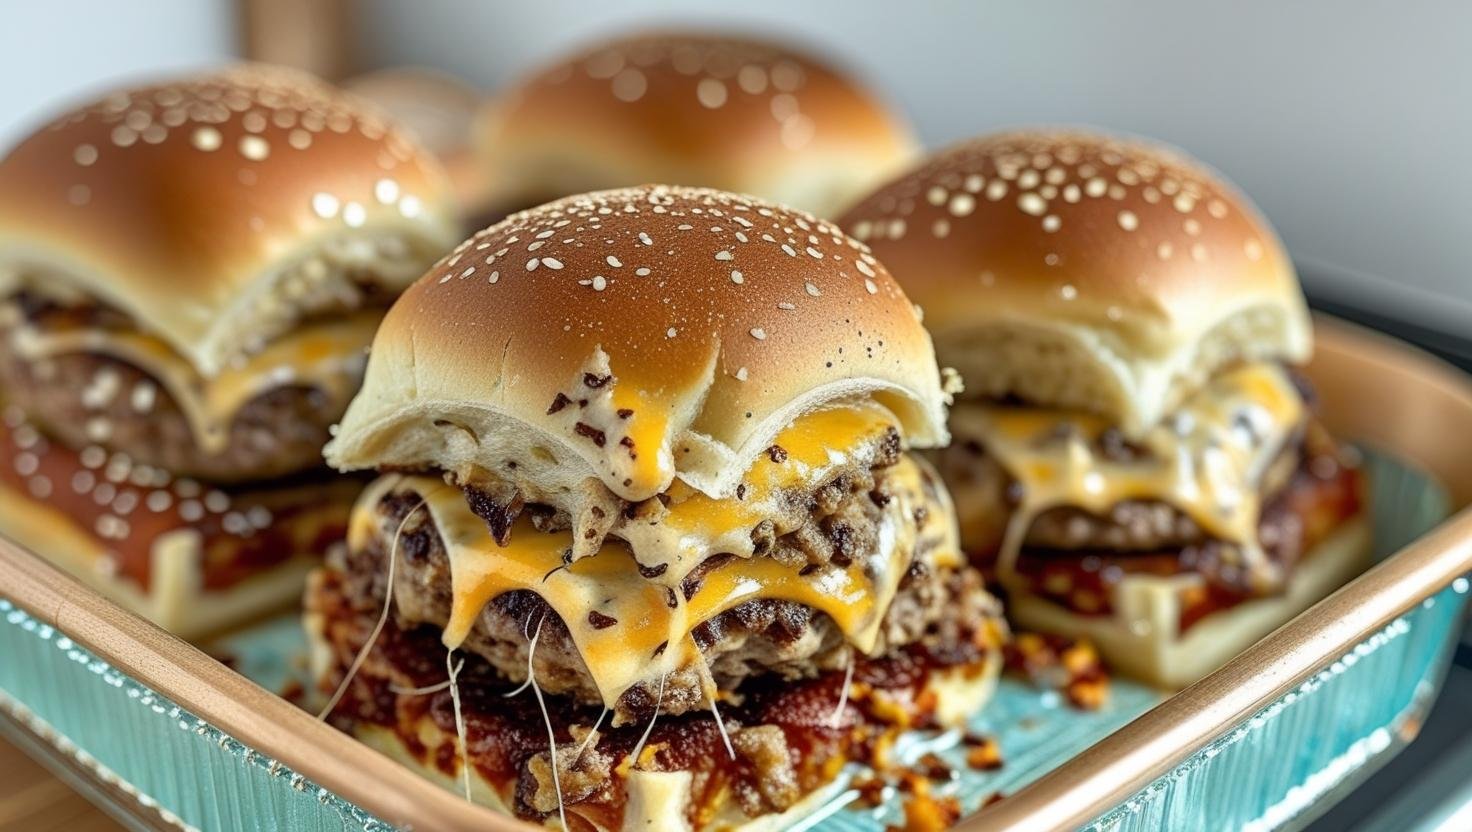
There’s nothing quite like biting into a perfectly made hamburger slider—fresh from the oven, loaded with melted cheese, and bursting with flavor. Whether you’re planning a casual dinner, prepping appetizers for a party, or looking for an easy game day snack, oven-baked hamburger sliders are a guaranteed crowd-pleaser.
They’re simple, satisfying, and endlessly customizable. In this guide, I’ll walk you through exactly how to make these irresistible sliders at home—so good, they might just beat your favorite takeout. 😋
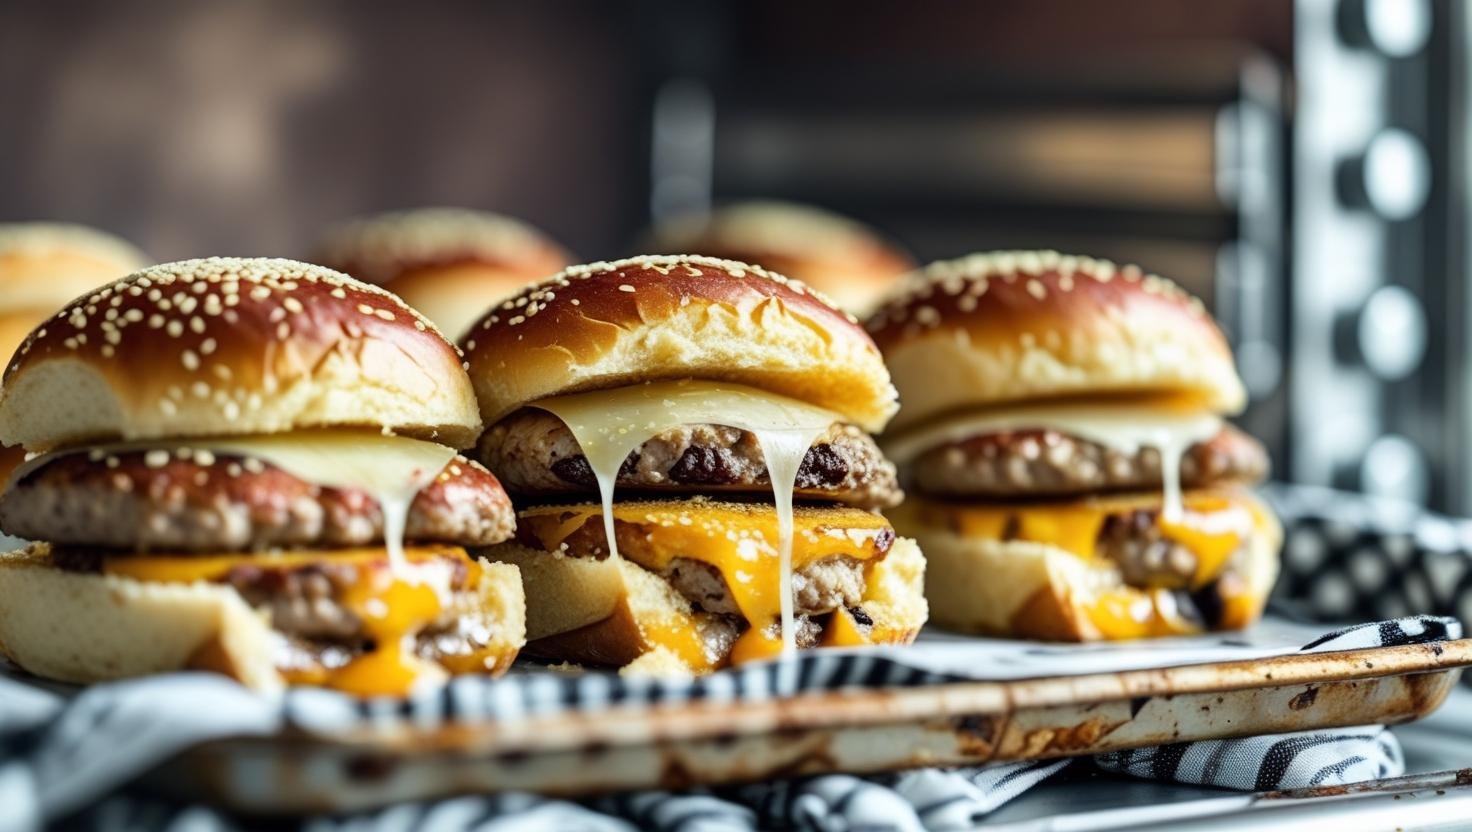
Why Bake Sliders in the Oven? 🧑🍳
Grilling mini burgers one at a time can be a hassle. That’s where the oven comes in. Baking sliders is easier, faster, and gives you great results every time.
Here’s why this method works so well:
- ✅ Efficient: No need to flip or monitor each burger—bake them all at once.
- 🔥 Even Cooking: The meat stays juicy, the cheese melts evenly, and the buns toast to perfection.
- 🧼 Less Mess: Fewer dishes, no greasy splatter, and an easier cleanup.
- ⏱️ Make-Ahead Friendly: Prep them early, then bake when you’re ready.
Whether you’re feeding a few or hosting a party, this approach is a total game-changer.
Ingredients You’ll Need for Oven-Baked Hamburger Sliders 🛒
(Makes 12 sliders | Serves 4–6)
Here’s your go-to ingredient list for flavorful, easy-to-make sliders:
For the Beef:
- 🥩 1 lb ground beef (preferably grass-fed for better flavor)
- 🧂 1 tsp garlic powder
- 🧂 ½ tsp onion powder
- 🧂 Salt and black pepper (to taste)
- 🥄 1 tbsp Worcestershire sauce
For Assembly:
- 🥖 12 slider buns or soft dinner rolls
- 🧀 6–8 slices cheese (cheddar, provolone, pepper jack, or havarti)
- 🧅 Optional toppings:
- Caramelized onions
- Pickles 🥒
- Ketchup, mustard
- Homemade or store-bought special sauce
For the Bun Topping:
- 🧈 4 tbsp unsalted butter, melted
- 🧄 1 tsp garlic powder
- 🧂 Pinch of salt
How to Make Hamburger Sliders in the Oven – Step by Step 👩🍳
1. Mix the Meat for Sliders 🥄
In a medium bowl, gently combine the ground beef with garlic powder, onion powder, Worcestershire sauce, salt, and pepper. Avoid overmixing to keep the meat tender.
2. Shape and Bake the Beef 🍳
Preheat the oven to 350°F (175°C). Press the beef mixture into a thin, even layer across a 9×13-inch baking dish, pressing it all the way to the edges—it will shrink slightly as it cooks.
Bake uncovered for 15–20 minutes, or until fully cooked.
🔍 Tip: Use a meat thermometer to ensure the internal temperature reaches 160°F (71°C).
3. Assemble the Sliders 🧱
While the beef is cooking, slice the slider buns horizontally, keeping the tops and bottoms attached. Arrange the bottom halves in a clean 9×13-inch dish or on a baking sheet.
Once the beef is done, drain any grease, then carefully place the cooked beef slab over the buns. Top with cheese slices and your favorite extras like pickles, onions, or sauce.
4. Top and Toast the Sliders 🥪
Place the bun tops over the assembled sliders. In a small bowl, mix the melted butter with garlic powder and a pinch of salt, then brush it generously over the tops.
Return the dish to the oven and bake for another 10–15 minutes, until the cheese is melted and the tops are golden and slightly crisp. ✨
Serving Suggestions: Elevate Your Sliders 🍽️
These sliders are perfect for nearly any occasion. Here are a few creative ways to serve them:
Weeknight Dinner 🏠
- Pair with oven-roasted sweet potato fries or a crisp green salad 🥗.
- Add a side of steamed vegetables or creamy coleslaw.
Entertaining Guests 🎉
- Serve on a large tray with toppings like pickles, jalapeños, and onions, plus a variety of dipping sauces.
- Offer a trio of dips: garlic aioli, spicy mustard, and classic ketchup 🍅.
Game Day or Parties 🏈
- Pair with nachos, buffalo wings, or a loaded baked potato bar 🧀🥔.
- Slice sliders in half for easy, bite-sized snacks.
Build-Your-Own Slider Bar 🍔🔧
Let guests create their own with:
- A mix of cheeses: cheddar, pepper jack, gouda 🧀
- Toppings like crispy bacon, grilled onions, or sliced avocado 🥑
- Sauces such as chipotle mayo, honey mustard, or your house blend
Serving & Storage Tips for Hamburger Sliders 🧊🍽️
- 🍽️ Serve Warm: These are best enjoyed straight from the oven—hot, cheesy, and crisp.
- 🧊 Store Leftovers: Keep in an airtight container in the fridge for up to 3 days.
- 🔁 Reheat: Warm in the oven or toaster oven at 325°F until heated through.
- ⏳ Make Ahead: Prepare and assemble ahead of time, then bake just before serving.
Customize Your Oven-Baked Sliders 🎨
Get creative with flavors and textures. Try these fun additions:
- 🥖 Bread Options: Swap standard buns for brioche, sourdough, or homemade rolls.
- 🧅 Flavor Boosts: Add caramelized onions, sautéed mushrooms, or spicy aioli.
- 🥑 Healthy Fats: Include avocado slices or use grass-fed butter.
- 🍅 DIY Condiments: Upgrade with homemade ketchup, mustard, or fermented sauces.
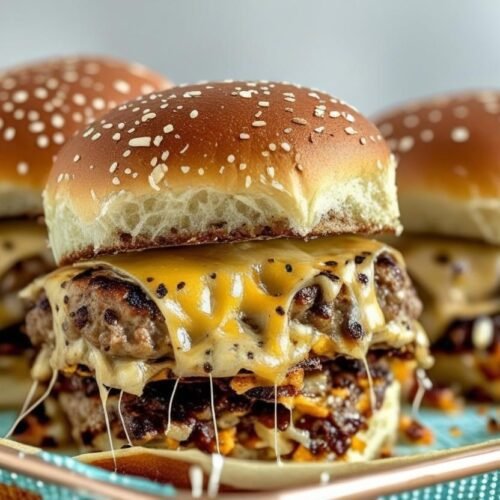
Final Thoughts on Hamburger Sliders in the Oven 🙌
Oven-baked hamburger sliders are more than just a snack—they’re a simple, delicious way to feed a crowd or bring the family together. 🥰 With just a few ingredients and easy steps, you’ll have a tray of juicy, cheesy sliders that rival any restaurant version.
Whether it’s a casual dinner or weekend get-together, this recipe is one you’ll want to keep in regular rotation.
Try it out! I’d love to hear what toppings and cheese combos you used. 💬 Don’t forget to pin, save, or share this recipe with friends.
Happy cooking! 🍔🔥
Oven-Baked Hamburger Sliders (FAQs)
- Can I make hamburger sliders ahead of time and bake them later?
Yes. You can fully prep the beef layer and assemble the sliders, then refrigerate until you’re ready to bake. Perfect for meal prep or parties. - What is the best cheese to use for hamburger sliders?
That depends on your taste. Cheddar brings boldness, provolone is smooth, pepper jack adds spice, and havarti melts beautifully. Mixing cheeses can add great flavor complexity. - How do I keep the buns from getting soggy?
Drain excess grease from the cooked beef before layering. You can also lightly toast the bun bottoms in the oven before assembling to add a bit of crispness. - Can I use ground turkey or chicken instead of beef?
Yes, both work well as leaner alternatives. Just be sure to add enough seasoning and maybe a splash of oil or extra Worcestershire to keep the meat moist and flavorful. - What are good side dishes to serve with hamburger sliders?
Classic pairings include fries, sweet potato wedges, coleslaw, and potato salad. For something lighter, go with roasted vegetables or a fresh green salad. Chips and dip are perfect for casual gatherings.
Oven-Baked Hamburger Sliders
Ingredients
- For the Beef Layer:
- 1 lb ground beef preferably grass-fed
- 1 tablespoon Worcestershire sauce
- 1 teaspoon garlic powder
- ½ teaspoon onion powder
- Salt and black pepper to taste
- For Assembly:
- 12 slider buns or soft dinner rolls
- 6 –8 slices cheese cheddar, provolone, pepper jack, or havarti
- Optional toppings: pickles caramelized onions, ketchup, mustard, or special sauce
- For Brushing the Buns:
- 4 tablespoons unsalted butter melted
- 1 teaspoon garlic powder
- Pinch of salt
Instructions
- Prepare the Beef Mixture:
- Preheat oven to 350°F (175°C).
- In a mixing bowl, combine ground beef with Worcestershire sauce, garlic powder, onion powder, salt, and pepper.
- Mix gently—do not overwork the beef.
- Bake the Beef Layer:
- Press the seasoned beef evenly into a 9x13-inch baking dish, all the way to the edges.
- Bake uncovered for 15–20 minutes, or until fully cooked (internal temp of 160°F/71°C).
- Carefully drain any excess grease and set aside.
- Assemble the Sliders:
- Slice slider buns horizontally (keep tops and bottoms connected).
- Place the bottom halves in a clean 9x13-inch dish or on a baking tray.
- Lay the cooked beef layer over the buns.
- Top with cheese slices and any desired toppings.
- Add Bun Tops and Bake Again:
- Place the bun tops over the sliders.
- In a small bowl, mix melted butter with garlic powder and a pinch of salt.
- Brush the butter mixture generously over the tops of the buns.
- Return to the oven and bake for 10–15 minutes, until cheese is melted and tops are golden.
Video
Notes
Storage & Reheating Tips:
- Storage:
Store leftovers in an airtight container in the refrigerator for up to 3 days. - Reheating:
Reheat in the oven or toaster oven at 325°F for 10–12 minutes until warmed through. Avoid microwaving if you want the buns to stay crisp.